


Outstanding tutorial, you really must try this one and understand how to use this effect, giving you unlimited opportunities to express yourself.

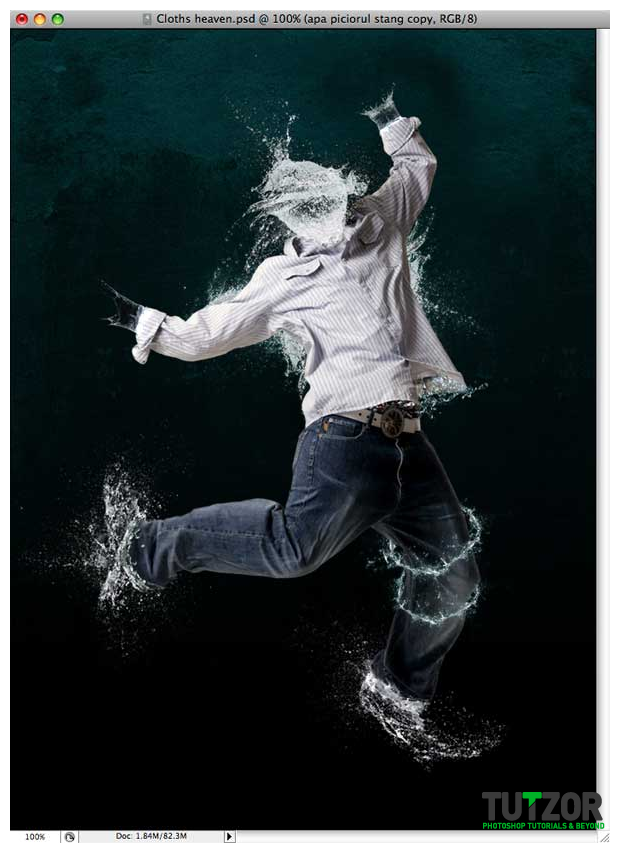
Final Image
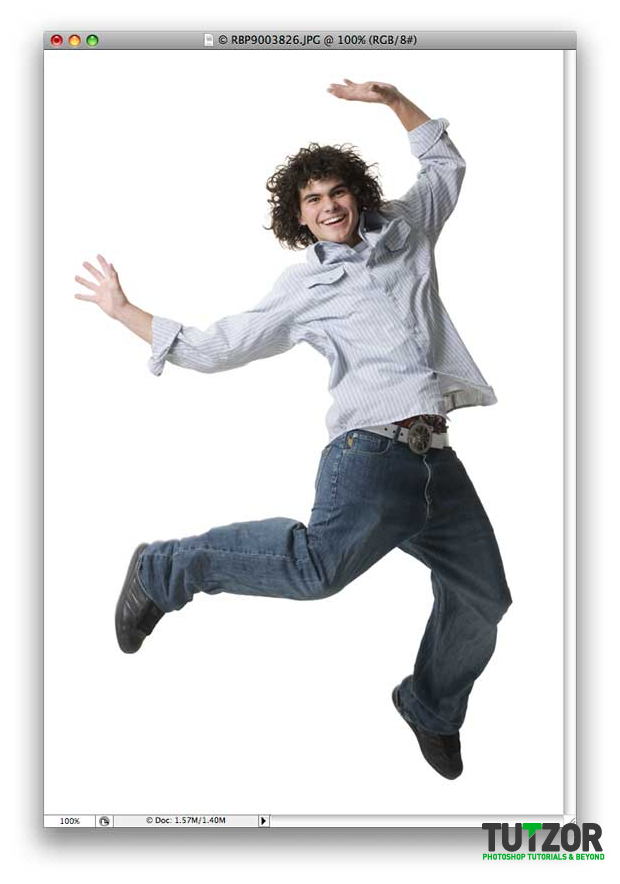
Next you need to take the man out of that background. Use the Pen Tool for this and draw a path around the guy. Don’t worry about the hair because we don’t need it and the same for the hands and shows.

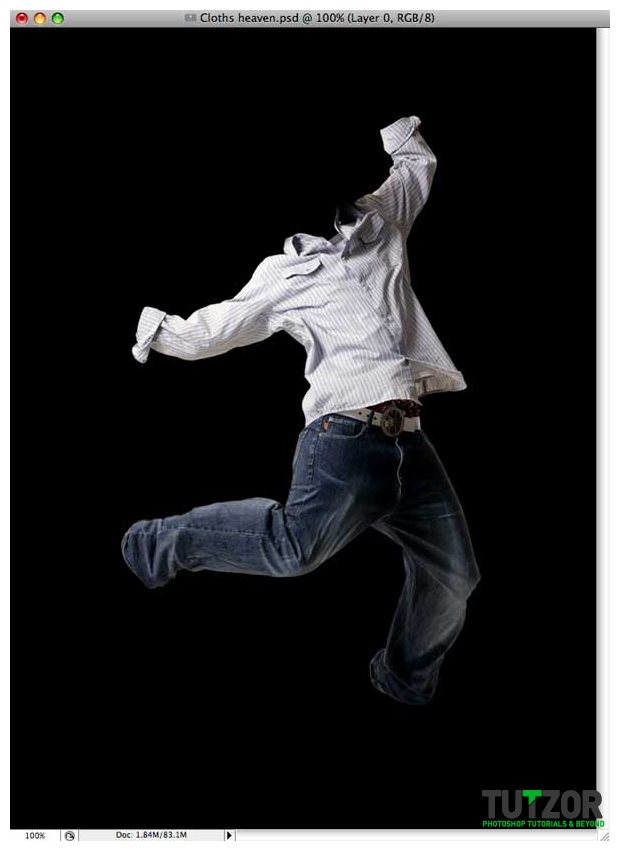
Now that we have the path around him press Ctrl + Enter (Command + Return on a Mac) and that will select the man. Now open up a new document. This will be the final file. Fill it with black. After you open up the new document move the selected man on that new document by dragging it on the workspace. It should look like this.
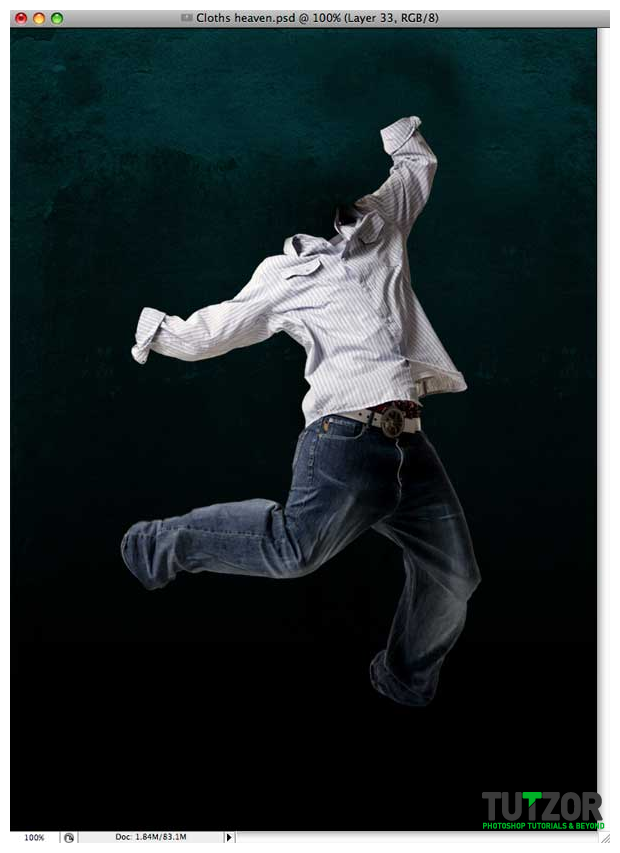
Next I want to bring a nice background for this because I want to finish with the easy stuff before we start. I have used a texture and applied a gradient over it. Also textures can be used for free from the same site I mentioned before.
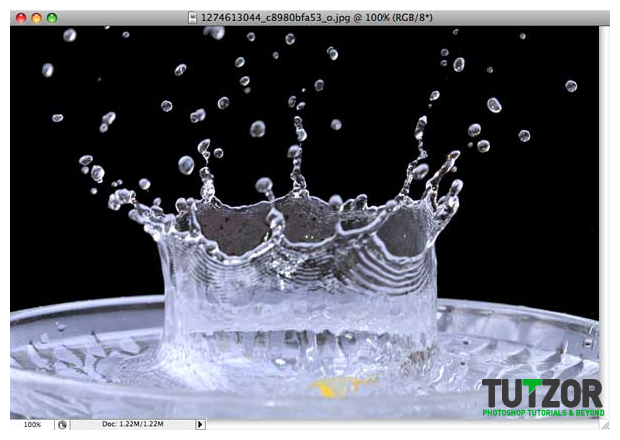
 It is time to make the water effect. First you need to find your images of water splashes. There are a ton of them. I reccomend you look for those images that are very clear and have a nice water splash. Also you need to find lots of them. I found the ones I used on free stock images like sxc.hu or fotolia.com.
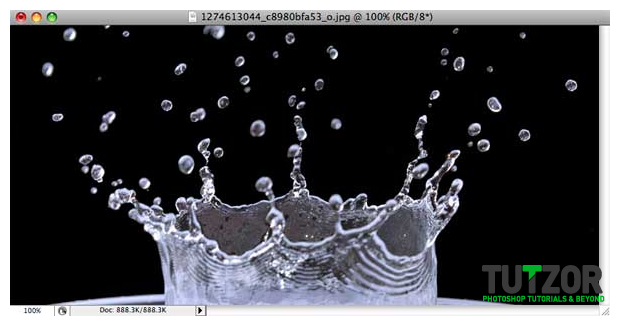
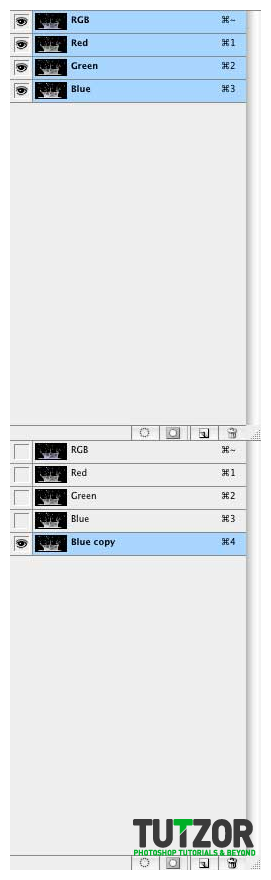
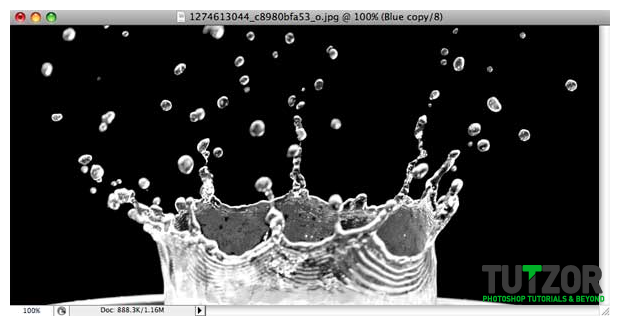
Go to the channels of the image and select the channel you consider that has the best contrast between the splash and the background. Next duplicate this channel, make it visible and make the Blue channel (in my condition) invisible by pressing the eye icon.
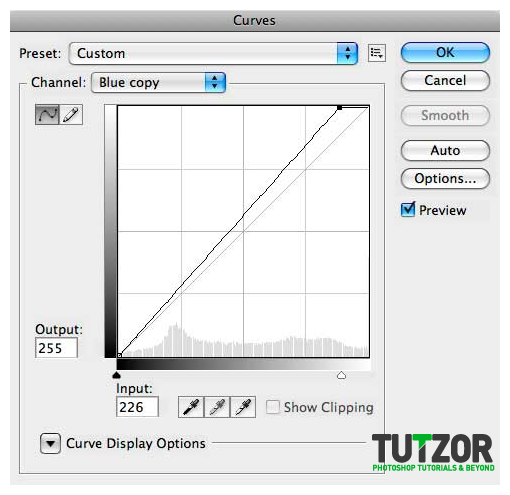
Now go to Image – Adjustments – Curves. In this case we have nothing to change for the image but there are a lot of images where the contrast between the water and background is not that visible.
Now Ctrl + Click on the channel you just duplicated. This will make a selection around the water splash.
Next cut the part of the image you don’t want.
